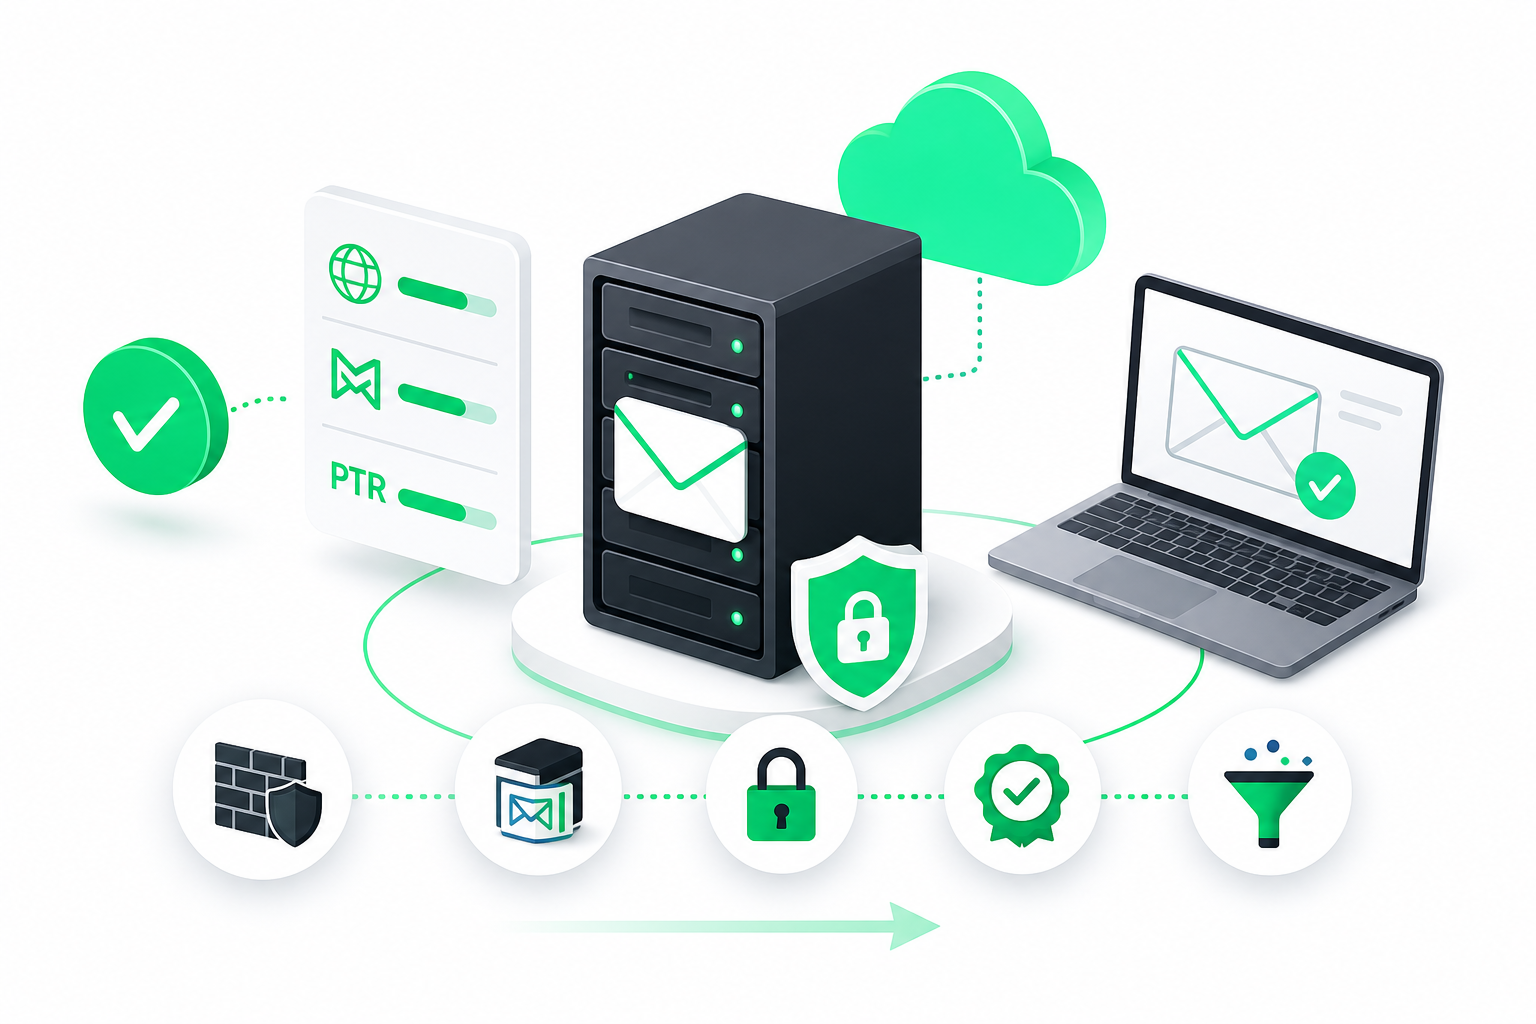
To set up an email server on a VPS, confirm outbound port 25 is open, set a fully qualified hostname, create A, MX and PTR records, install Postfix and Dovecot, add a Let's Encrypt certificate, then publish SPF, DKIM and DMARC records. Test deliverability before moving real mail, and warm the IP gradually.
Running your own mail server is doable. The trick is knowing where it usually breaks: port 25, reverse DNS, and IP reputation. This guide walks the steps in the order you actually do them.
What You Need Before You Set Up an Email Server on a VPS
Before you build anything, you need a short list of things in place. Skip one and you may spend hours on a server that can never send mail.
Use this as your go/no-go checklist:
- A domain name you control. You need access to its DNS zone to add A, MX, TXT and PTR-related records.
- A VPS with its own dedicated IPv4 address. Shared or rotating addresses make reverse DNS and reputation unmanageable.
- Outbound port 25 open. Many VPS providers block it by default to fight spam. Ask your provider before you install a single package, and get the answer in writing if you can. The same goes for reverse DNS (PTR) support: confirm your provider lets you set it.
- Root or sudo access to a Linux server. This walkthrough assumes Linux (Debian or Ubuntu style commands). It does not cover Windows setups.
- Enough resources for your chosen software. A hand-built Postfix and Dovecot setup runs on a small plan. A packaged stack is hungrier: Mailcow needs at least 6 GB of RAM plus 1 GB of swap and 20 GB of disk before any messages are stored, and it recommends 8 GB of RAM for more than five users.
- A clean IP. Check the address against public blocklists before you commit. A previously abused IP is a headache you do not want.
If you are still choosing where to host, our guide on VPS Brasil: Qual Servidor Contratar para Seu Projeto can help you pick a server size. If you would rather skip server upkeep, a business hosting plan with email is the managed alternative. Whichever route you take, ask the port 25 and PTR questions first.
All set? Then you are ready for the first real step.
Step 1 and 2: Set the Hostname and Create Your DNS Records
Your mail server needs a fully qualified domain name (FQDN, the full address of a machine such as mail.example.com) that matches the DNS records you publish. Get this wrong and other servers will distrust your mail from the first message.
Step 1: set the hostname. Pick a mail subdomain, then set it on the server:
sudo hostnamectl set-hostname mail.example.com
Add a matching line to /etc/hosts so the server resolves its own name:
YOUR_VPS_IP mail.example.com mail
Replace the example domain and IP with your own. Check the result with hostname -f. It should print the full name.
Step 2: create your DNS records. In your domain's DNS zone, add:
- An A record pointing
mail.example.comto your VPS IP address. - An MX record for
example.compointing tomail.example.com. This tells the world where to deliver your mail. - A PTR record (reverse DNS) that maps your IP back to
mail.example.com. You usually cannot set this one yourself. Your VPS provider controls it, so open a request or find the setting in their panel.
Why does PTR matter so much? Receiving servers often check that your IP resolves back to the same name you announce. A mismatch is an easy reason to reject or junk your mail.
Napoleon is a Brazilian hosting provider that offers domain, DNS and email services for businesses. For the MX side specifically, Como Gerenciar Zonas MX para E-mails no cPanel explains how MX zones work.
DNS changes can take a while to spread. Verify with dig MX example.com and dig -x YOUR_VPS_IP before moving on.
Step 3: Install and Configure Postfix and Dovecot
Two programs do the core work. Postfix is the SMTP server (SMTP is the protocol that moves mail between servers). Dovecot serves your mailboxes over IMAP and POP3 so email apps can read mail, and it handles SASL authentication (the login check) for Postfix.
Simple split: Postfix sends and receives. Dovecot lets people log in and read.
Install both on Debian or Ubuntu:
sudo apt update
sudo apt install postfix dovecot-imapd dovecot-pop3d
When the Postfix installer asks, choose "Internet Site" and enter your domain.
Configure Postfix. In /etc/postfix/main.cf, set the basics:
myhostname = mail.example.com
mydomain = example.com
myorigin = $mydomain
inet_interfaces = all
mydestination = $myhostname, localhost.$mydomain, $mydomain
Configure Dovecot. Enable IMAP for your mail clients. IMAP is the better choice over POP3 if you read mail on more than one device, since it keeps everything in sync. One catch: Debian 13 ships Dovecot 2.4, and its settings differ from the 2.3 examples in most older tutorials. Check which version you have with dovecot --version before copying configs.
Do not become an open relay. An open relay is a server that forwards mail for anyone. Spammers find them fast, and a misconfigured Postfix can get your IP blocklisted within hours. Restrict relaying so only authenticated users can send through your server:
smtpd_relay_restrictions = permit_mynetworks, permit_sasl_authenticated, reject_unauth_destination
smtpd_sasl_type = dovecot
smtpd_sasl_path = private/auth
smtpd_sasl_auth_enable = yes
Reload both services, then test with a login from a mail client. Once you can log in and send a message to yourself, you have a working core.
Step 4: Secure the Server With a Let’s Encrypt TLS Certificate
Without TLS, your logins and messages cross the network in plain text. A free Let's Encrypt certificate fixes that, and Certbot (the tool that requests and renews it) does most of the work.
Install Certbot and request a certificate for your mail hostname:
sudo apt install certbot
sudo certbot certonly --standalone -d mail.example.com
Port 80 must be free and reachable for this check, so stop any web server on it first. Your files land in /etc/letsencrypt/live/mail.example.com/.
Now point both programs at the certificate. In /etc/postfix/main.cf:
smtpd_tls_cert_file = /etc/letsencrypt/live/mail.example.com/fullchain.pem
smtpd_tls_key_file = /etc/letsencrypt/live/mail.example.com/privkey.pem
smtpd_tls_security_level = may
In your Dovecot SSL settings, set ssl = required and give it the same two files. Reload both services, then connect with a mail client and confirm the lock appears. Certbot renews on a schedule, so run sudo certbot renew --dry-run once to prove it works. For a deeper walkthrough, see SSL Certificado Gratis: Let's Encrypt Passo a Passo.
Step 5: Add SPF, DKIM, and DMARC Records
These three DNS records prove your mail is really from you. Skip them and big providers will likely send you to spam.
- SPF lists which servers may send for your domain.
- DKIM adds a cryptographic signature that proves the message was not altered.
- DMARC tells receivers what to do when SPF or DKIM fail.
Do you need all three? Yes. They check different things, and providers expect to see them together.
SPF. Add a TXT record on example.com:
v=spf1 mx -all
DKIM. OpenDKIM plugs into Postfix as a milter and signs every outgoing message. Install it, then generate a key pair:
sudo apt install opendkim opendkim-tools
sudo opendkim-genkey -s mail -d example.com
The private key stays on the server. Publish the public key from the generated .txt file as a TXT record at mail._domainkey.example.com. Then connect OpenDKIM to Postfix with smtpd_milters and non_smtpd_milters in main.cf.
DMARC. Start gentle with a TXT record at _dmarc.example.com:
v=DMARC1; p=none; rua=mailto:dmarc@example.com
Move to p=quarantine once your reports look clean. If you want to see how these records look in a managed setup, Email Profissional: Configurar com Dominio Proprio shows the same idea without the manual work.
SpamAssassin can score incoming mail too, but it needs regular rule updates to stay useful.
How to Test Your Mail Server and Avoid Common Pitfalls
Test before you move any real mail. Work through this checklist:
- Send to Gmail and Outlook accounts. Check whether each message lands in the inbox or spam.
- Read the full headers. Look for
spf=pass,dkim=passanddmarc=pass. - Check your IP against public blocklists. Do it again after your first week.
- Confirm you are not an open relay. Try sending through the server without logging in from outside. It must be refused.
- Verify reverse DNS. Run
dig -xon your IP and confirm it returns your mail hostname.
Correct records do not guarantee the inbox. A new VPS IP can start with a poor reputation. One self-hoster reported that mail from their DigitalOcean VPS to Gmail had a roughly 50/50 chance of landing in spam, blamed partly on IP reputation. Records help, but the address itself matters.
That is why warm-up matters. Warming means sending small volumes first, then raising them slowly so providers learn to trust you. According to slipjar.app's 2026 six-month self-hosting test, self-hosted SMTP on a VPS reached a 98.4% delivery rate to Gmail and Outlook when a 21-day IP warming protocol was followed. The same testing found the full warm-up takes 21 days.
Start with a handful of messages a day to people who will reply. Then increase gradually. Rushing it is the fastest way to burn a fresh IP.
Should You Use Mailcow or Build From Scratch?
If you want the best email server on a VPS with the least hand-wiring, a packaged stack beats building from scratch for most people. Building with Postfix and Dovecot teaches you the most and fits a small plan. A packaged option saves hours.
Mailcow is the best-known option. It is a Docker-based toolkit that bundles Postfix, Dovecot, SOGo webmail, Rspamd, ClamAV and an admin web interface. It is also the friendliest pick when you manage several domains. The cost is memory: it manages 12+ containers and needs at least 6 GB of RAM, so the cheapest 1 GB plans are out.
Stalwart is a lightweight alternative that runs SMTP, IMAP, JMAP, calendars and contacts as a single process, with a much smaller RAM footprint than Mailcow. docker-mailserver and iRedMail are other packaged options, but this guide does not cover them in detail.
| Runs as | Includes | Best for | |
|---|---|---|---|
| Postfix + Dovecot (from scratch) | Separate services you install and wire together | SMTP and IMAP/POP3 only; you add DKIM, filtering and webmail | Learning, small plans, full control |
| Mailcow | Docker stack, 12+ containers | Postfix, Dovecot, SOGo, Rspamd, ClamAV, admin interface | Several domains, a ready admin panel |
| Stalwart | Single process, can run in Docker | SMTP, IMAP, JMAP, calendars, contacts, built-in DKIM signing | Small servers that need low RAM |
Still not sure self-hosting is worth the upkeep? Choose a hosted mailbox when mail uptime matters more than control, since someone else handles the IP reputation work.
Prices and plan limits verified as of November 2026.
FAQs
What VPS resources are needed for an email server?
It depends on the software. A hand-built Postfix and Dovecot setup runs on a small plan, while a packaged stack like Mailcow needs far more memory and disk. Always add disk for the mail you will actually keep, and plan for growth.
What is the difference between Postfix and Dovecot?
Postfix is the SMTP server: it routes and delivers mail between servers and accepts mail from authenticated users. Dovecot gives mail clients IMAP and POP3 access to stored messages and handles the SASL login check for Postfix. You need both for a complete server: one moves the mail, the other lets people read it.
Do I need all of SPF, DKIM, and DMARC?
Yes. SPF lists which servers may send for your domain. DKIM signs each message so receivers can see it was not altered. DMARC tells receivers what to do when those checks fail. Each proves something different, and large providers expect all three, so publishing only one or two leaves a gap that can push your mail toward spam.
Which providers block port 25 by default?
No single list is reliable, because policies change and often vary by plan or account age. Many VPS providers block outbound port 25 to fight spam, so ask any provider before you build anything. Also ask whether you can set a reverse DNS (PTR) record. If outbound port 25 stays closed, a self-hosted server cannot send mail to other servers.
How long does it take to warm up a new sending IP?
According to slipjar.app's 2026 testing, a full warm-up for a large subscriber list takes 21 days. Smaller senders ramp up on a similar slow curve. Begin with a few messages a day to people who will reply, then raise volume gradually. Rushing the process is the quickest way to damage a fresh IP's reputation.
Can I run an email server on a Windows VPS?
This guide assumes Linux, and we do not cover a Windows setup here. The steps above, from hostname to DKIM, use Debian or Ubuntu style commands. If you are on Windows, the general ideas still apply: open port 25, set reverse DNS, use TLS, and publish SPF, DKIM and DMARC. The software and commands will differ.
Conclusion
You can run your own mail server on a VPS, but the work is mostly in the unglamorous parts: an open port 25, matching reverse DNS, authenticated mail, and a slow IP warm-up. Get those right and the software side is the easy part.
Before you start, ask your provider about outbound port 25 and PTR support. Then pick your route: build with Postfix and Dovecot to learn, choose Mailcow or Stalwart to save time, or pay for a hosted mailbox if uptime matters more than control. Whichever route you take, send your first messages in small batches and read the headers for SPF, DKIM and DMARC passes.